PAYMENT LINKS & PRODUCTS
JOBVIZER CRM VIDEO TUTORIAL
What Payment Links & Products Do
Products are what you sell, a service, package, retainer, digital product, or physical item, along with its pricing structure. Payment Links are secure, hosted checkout pages built from those products that you can share as a simple URL. When someone clicks a payment link, they land on a fast, mobile-friendly checkout, pay, and the system automatically updates their contact record and can trigger any automations tied to that purchase.
This is the fastest way to get paid without building a full funnel or website page, ideal for consultations, deposits, event tickets, retainers, or one-off packages.
Step 1: Connect a Payment Processor
Before creating any product or payment link, a payment processor must be connected.
Go to Payments → Integrations.
Choose your provider. Several are supported, but Stripe is the most reliable and easiest to set up, connecting with a single-click OAuth flow if you already have an account.
Click Connect. If a Stripe account already exists, it links immediately.
For less common processors (Authorize.net, NMI, PayPal, etc.), each has its own setup nuances, refer to the platform's support documentation for provider-specific steps.
Step 2: Create a Product
Go to Payments → Products.
Click Create Product.
Give it a clear name (e.g., "Discovery Call," "Monthly Retainer – Starter").
Add a description and product image if applicable.
Set the price and currency.
Choose a pricing/billing type:
One-time — a single payment
Payment plan (two-pay, three-pay, deposit-plus-balance) — split across multiple charges
Subscription — recurring billing on a set schedule
Leave Online Store off unless you're specifically building a storefront; for most service-based use cases, this stays disabled.
Save the product.
Tip: Products can be imported from an existing Stripe catalog, but creating them fresh inside the platform makes it easier to track performance directly, rather than relying on external reporting.
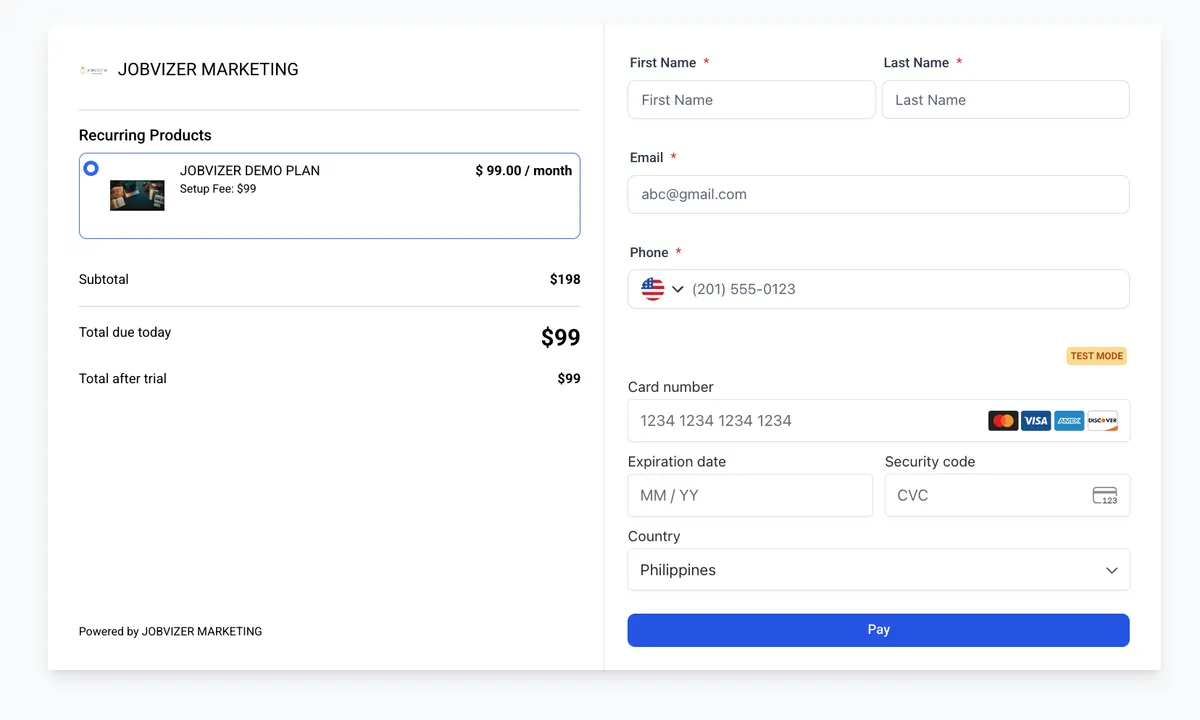
Step 3: Create a Payment Link
Go to Payments → Payment Links.
Click Create New Payment Link.
Select the product you already created.
Configure the details:
Quantity limits (if applicable)
Available payment methods (card, digital wallets, etc.)
Tax settings
Whether to collect the buyer's address
Click Save. A unique, shareable checkout URL is generated.
Note: The hosted checkout page automatically adapts to the platform language set in your business profile, so international clients see it in the correct language without extra configuration.
What Happens When Someone Pays
Once a buyer completes checkout through a payment link, the system automatically:
Processes the payment through the connected provider.
Creates a new contact record, or updates the existing one, tied to that purchase.
Fires any attached automations, this can include adding a tag, moving an opportunity to a new pipeline stage, or triggering a welcome/onboarding sequence.
This means a single payment link click can kick off an entire onboarding flow automatically, without any manual handoff between "got paid" and "started onboarding."
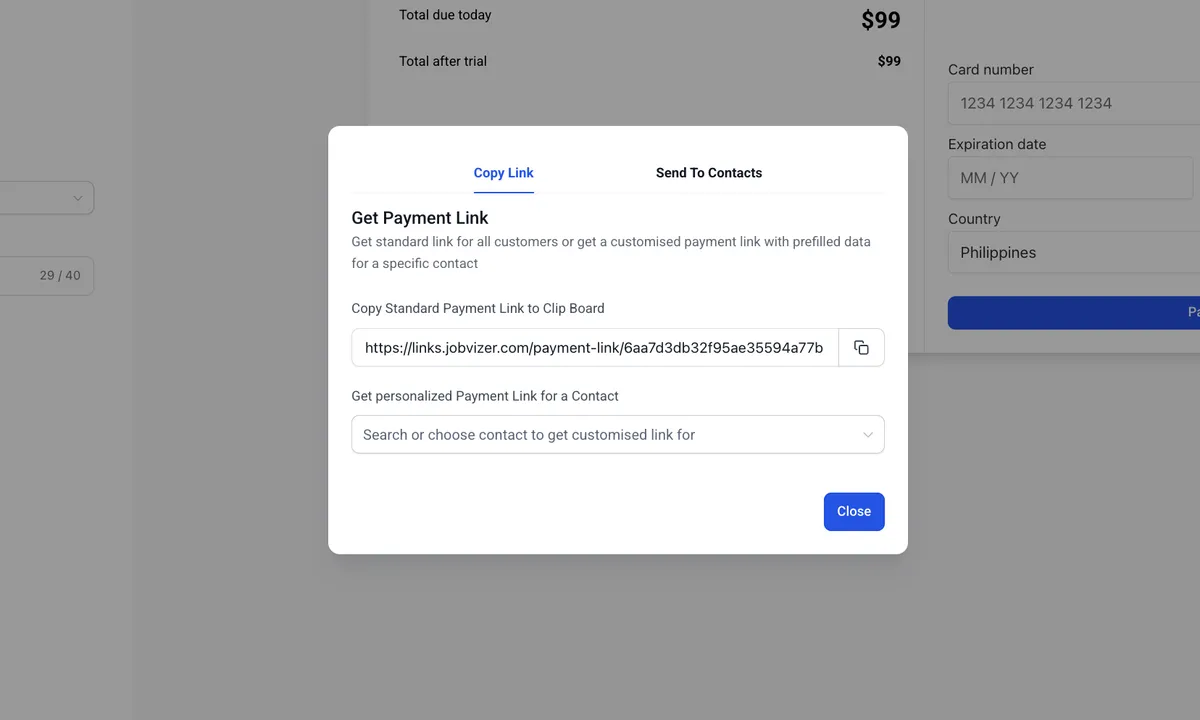
Common Use Cases
One-off strategy calls or consultations
Deposits or first payments collected before onboarding begins
Small service packages and retainers
Event tickets, workshops, or cohort-based programs
Simple digital products or standalone memberships
Notes
Always connect and confirm the payment processor first; a payment link built before this step won't function correctly.
Pair every payment link with a "Payment Received" automation. A link that just takes payment with no automated next step misses the real value of having this connected to the JOBVIZER CRM.
JOBVIZER MARKETING SUPPORT PORTAL© 2026ALL RIGHTS RESERVED