JOBVIZER CRM TUTORIAL
ADS MANAGER
What Ad Manager Does
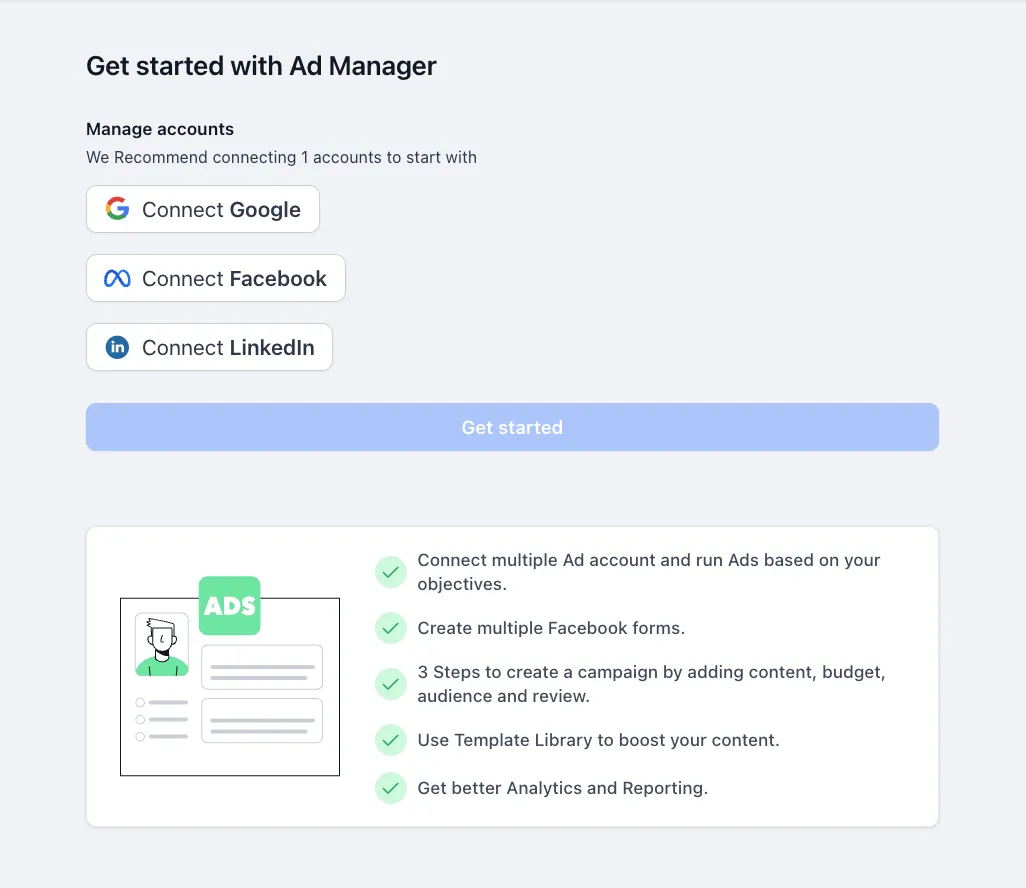
Ad Manager centralizes ad creation, campaign management, and reporting for Facebook, Instagram, and Google ads inside the same dashboard used for contacts, pipelines, and automations. Instead of switching between separate ad platforms and a CRM, leads generated by an ad flow directly into contact records and pipelines the moment they convert, with reporting that ties spend back to actual closed deals, not just clicks.
Step 1: Connect Your Ad Accounts
Go to Settings → Integrations.
Select Facebook (or Google, depending on the platform being connected).
Click Connect, then log in and authorize the connection when prompted.
Grant the requested permissions, these are required so the system can read lead forms and sync incoming leads.
Select which Page(s) (for Facebook) or ad accounts (for Google) should be connected. If managing multiple clients, each can be connected to its own separate sub-account, or multiple Pages can be linked under one account depending on the setup.
Important: The connection authorizes against a person's login (not just a business Page directly), and it typically only grants access to Pages/accounts that login manages. If a lead form isn't syncing, the most common cause is that the specific Page it belongs to was never explicitly selected during setup.
Step 2: Set Up the Conversions API (Recommended)
Since privacy changes have reduced how much data browser-based tracking alone can capture, setting up the Conversions API (CAPI) sends conversion data directly from the server to the ad platform, giving its algorithm better data to optimize campaigns with.
Go to Settings → Integrations → Facebook, and look for the Conversions API section.
Enter the Pixel ID and access token from the ad platform's own Events Manager (this may auto-populate if Ad Manager is being used directly).
Save.
This step meaningfully improves how well the ad platform can optimize delivery, since it's no longer relying solely on browser-level tracking that's become less reliable.
Step 3: Create a Campaign
From the Ad Manager tab, click Create Campaign.
Choose the platform: Facebook or Google.
Define the audience, either build a custom audience or use a saved segment.
Set budget, creative, and targeting as needed.
Launch. Performance data (spend, leads, cost per lead) begins populating directly on the dashboard.
Template scaling: A winning ad campaign built for one client can be cloned and reused across other sub-accounts quickly, useful for agencies running similar campaign structures across multiple clients in the same industry.
Step 4: Automate What Happens After a Lead Converts
This is where the real value shows up, connecting the ad directly to a follow-up sequence rather than leaving leads sitting in the ad platform's own dashboard.
Go to Automation → Workflows.
Create a new workflow with the trigger Lead Form Submitted (Facebook) or the equivalent Google Ads lead trigger.
Add actions such as:
Apply a source tag (e.g., "fb-lead"), a campaign tag, and an offer tag so the lead's origin is traceable later
Set the contact's Source field to something consistent (e.g., "Facebook Lead Form")
Create an opportunity in the correct pipeline, so ad-driven revenue can be traced back to spend
Send an immediate booking link or welcome message
Why speed matters here: Research on lead response time consistently shows that the odds of successfully qualifying a lead drop sharply after the first hour following submission. A same-minute automated response (booking link, welcome text) meaningfully outperforms a lead that sits untouched for even a few hours.
Reporting and Attribution
The dashboard pulls campaign metrics (spend, leads, cost per lead) directly into the sub-account, and where attribution tagging is set up correctly (see Step 4), it can show which specific campaigns are producing actual closed deals, not just form fills.
Worth noting: Attribution here depends entirely on consistent tagging discipline in the intake workflow. It's a setup habit, not a feature that works automatically the moment ad accounts are connected. For any client-facing revenue reporting, reconcile the numbers against the ad platform's own dashboard before finalizing, rather than relying solely on the in-CRM view.
Advanced Tactic: Custom and Lookalike Audiences
Contacts tagged as "Closed Won" in the CRM can be exported and uploaded to the ad platform as a Customer List audience, then used to build a Lookalike Audience, targeting new users whose profile matches existing best clients. This consistently outperforms broad interest-based targeting once a business has a clear customer profile established. Refresh this audience periodically (quarterly is a reasonable cadence) as the client base grows.
Notes for Client-Facing Use
Always double-check which specific Page or ad account was selected during connection, a "Connected" status doesn't guarantee leads are actually flowing if the wrong Page was chosen.
Set up the follow-up automation (Step 4) before launching any ad spend, not after. A lead sitting unaddressed for even a few hours meaningfully lowers close rates.
Recommend Conversions API setup for any client running meaningful ad spend; it directly affects how efficiently their budget is being spent by the platform's own optimization.
Reconcile in-CRM ad reporting against the platform's native dashboard before presenting numbers to a client, small discrepancies are common and worth catching first.
JOBVIZER MARKETING SUPPORT PORTAL© 2026ALL RIGHTS RESERVED